単体でご注文があったZ1000Mk2用のキャブ後方隔壁を製作します。
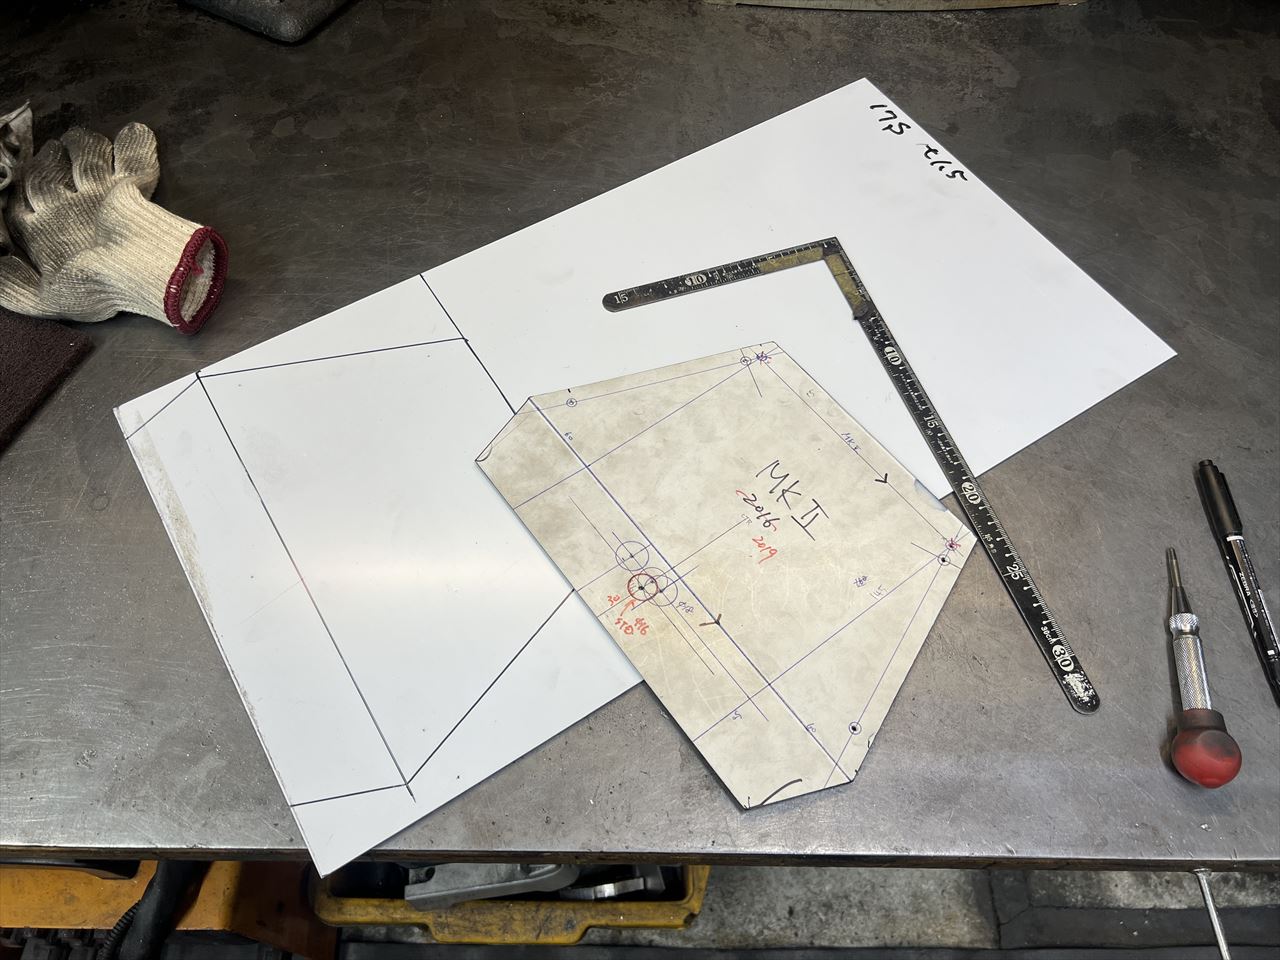
テンプレートの形に添って、シャーリングでカットします。
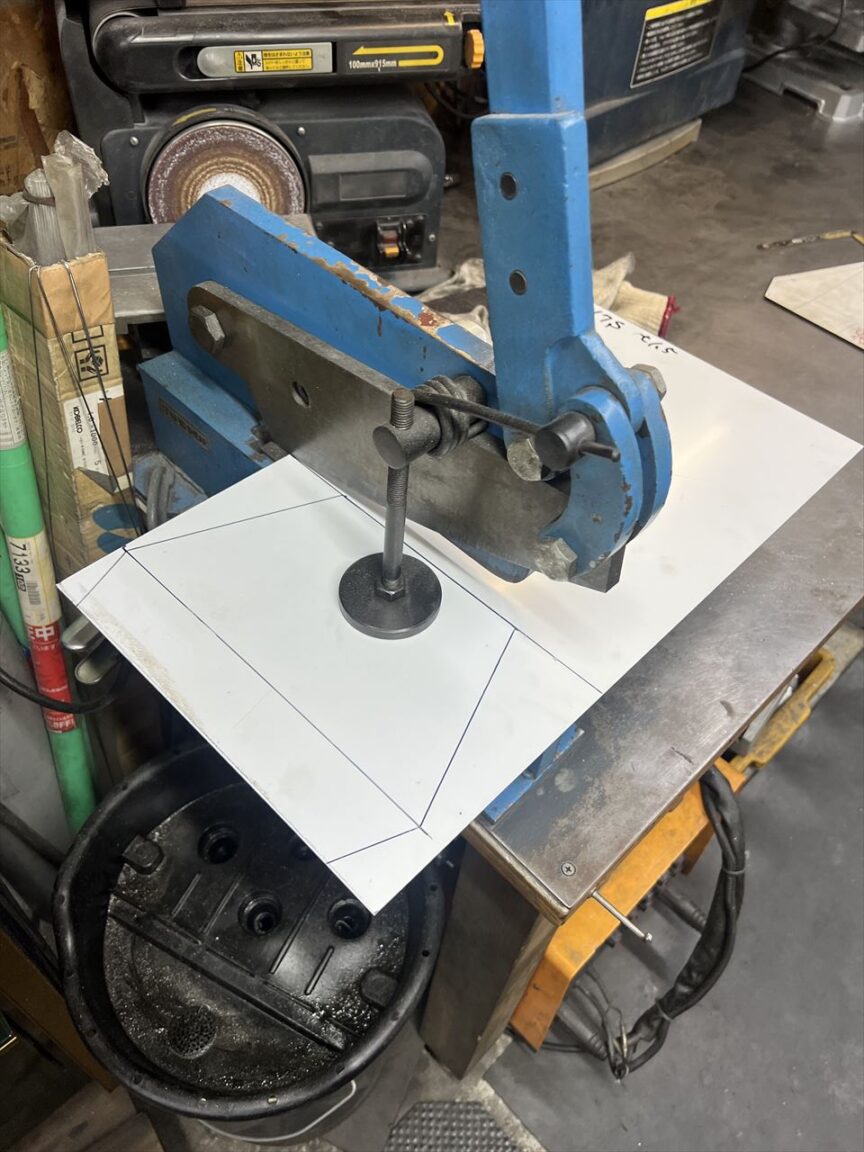
切り出し完了。

穴開けします。
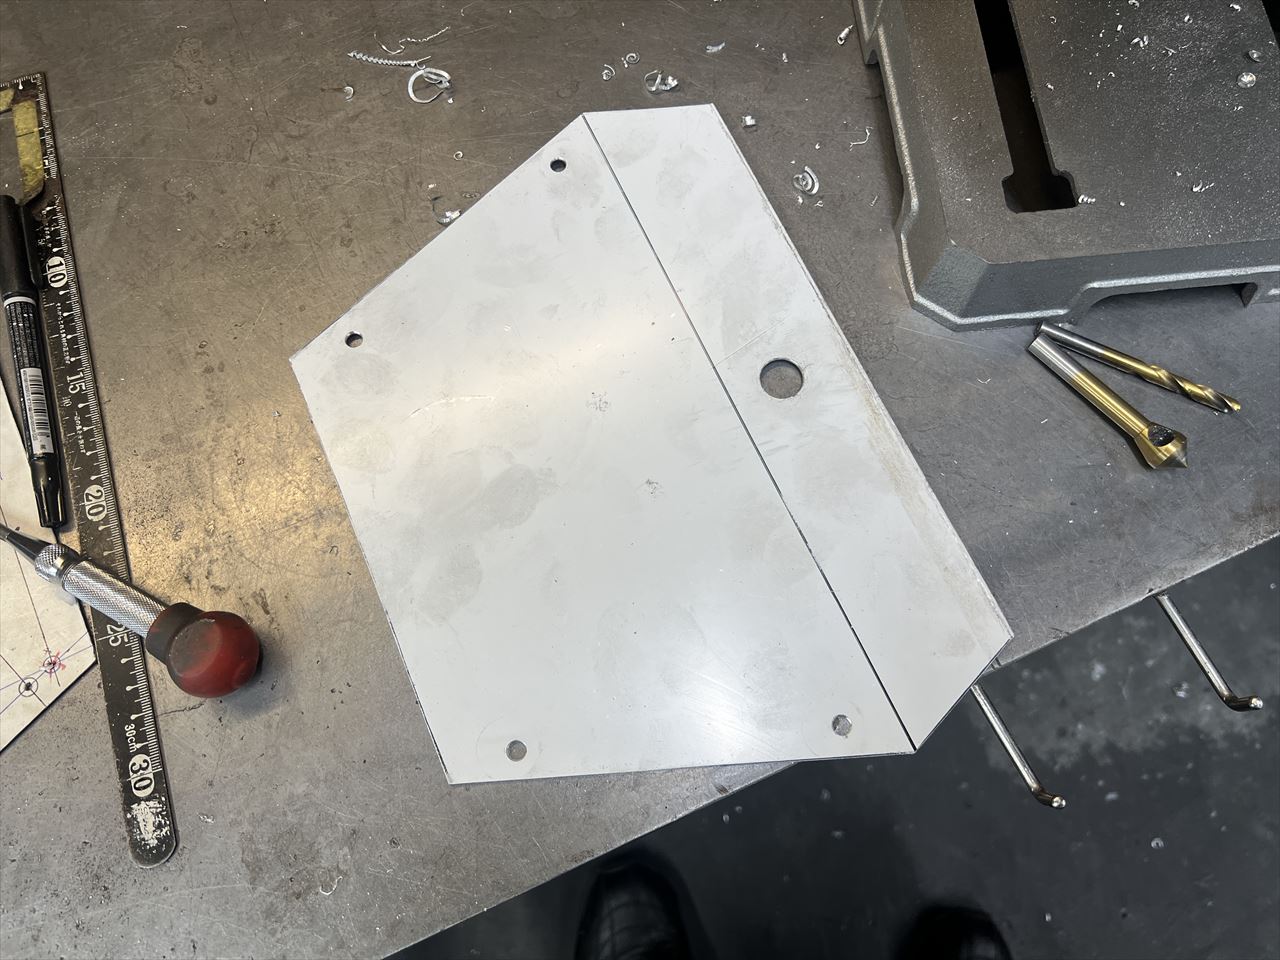
角を丸めます。
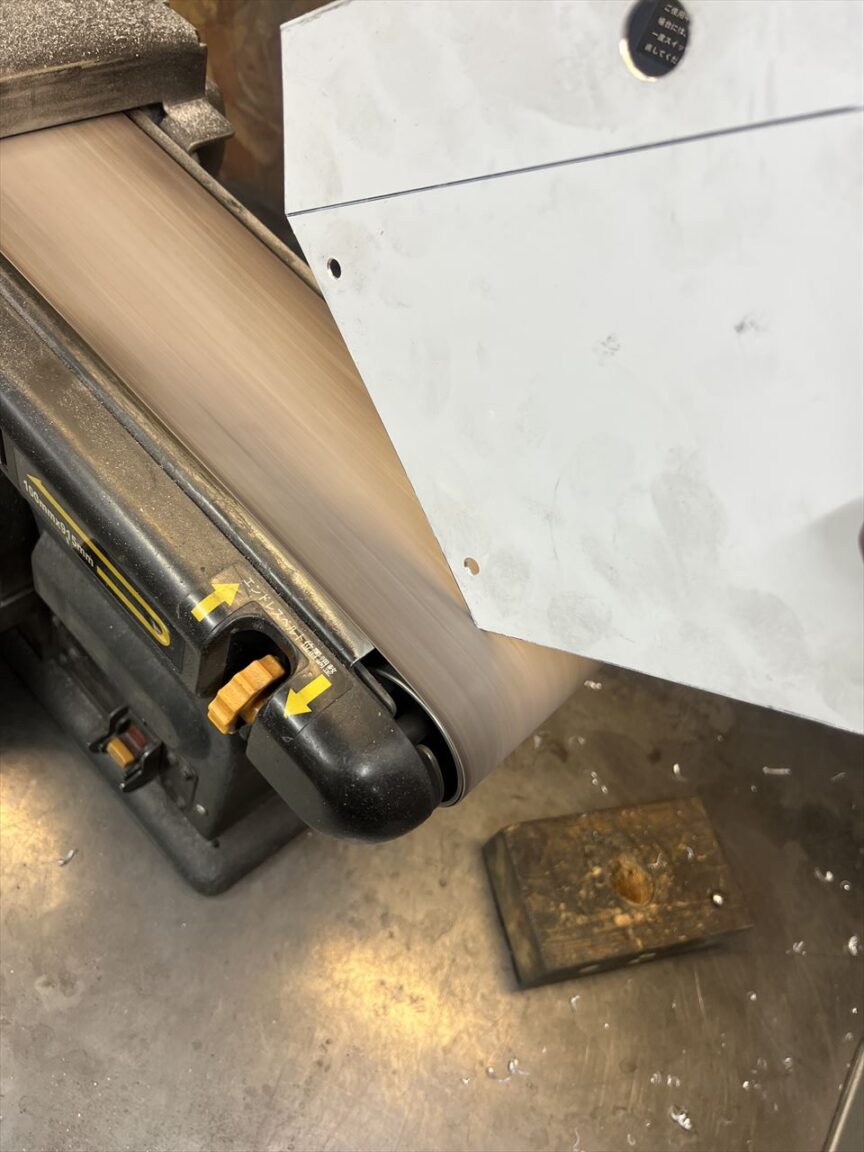
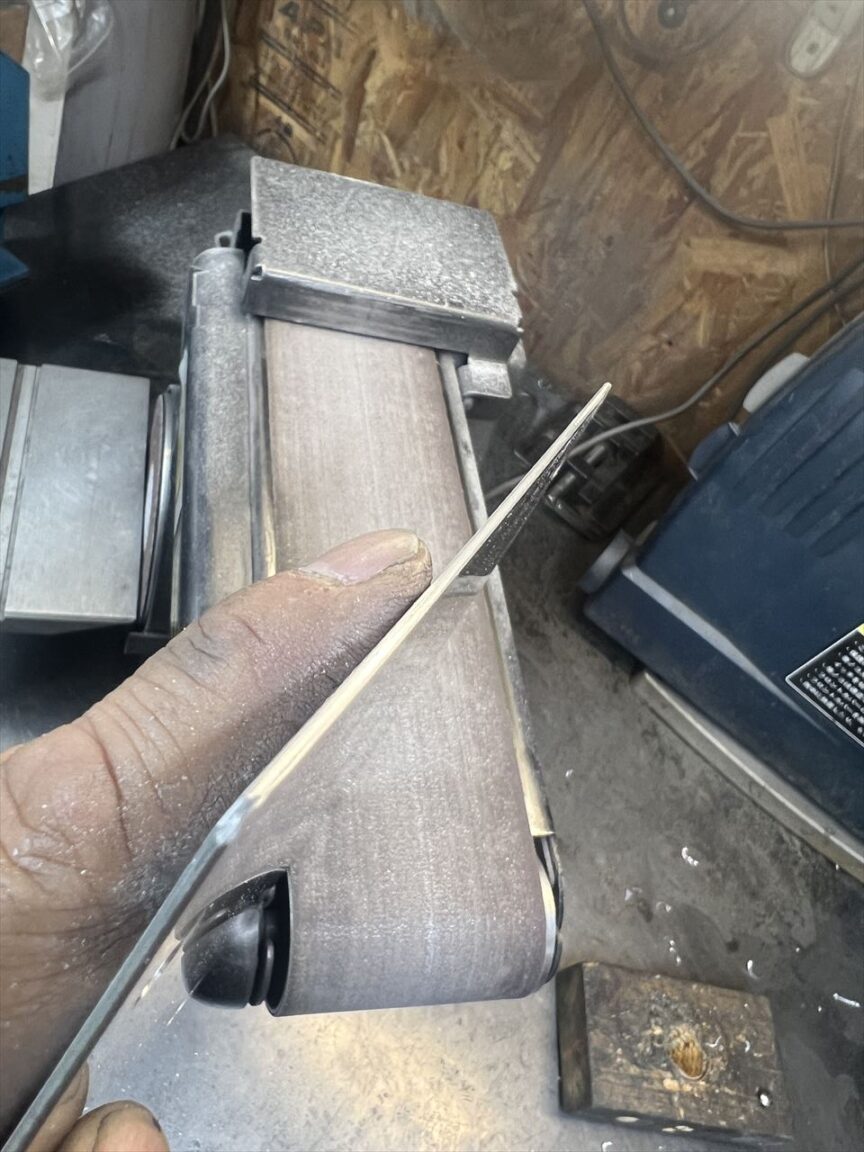
エッジを面取り後、切断面に丸みを付け、配線などが触れても傷つきにくいように滑らかに研磨します。
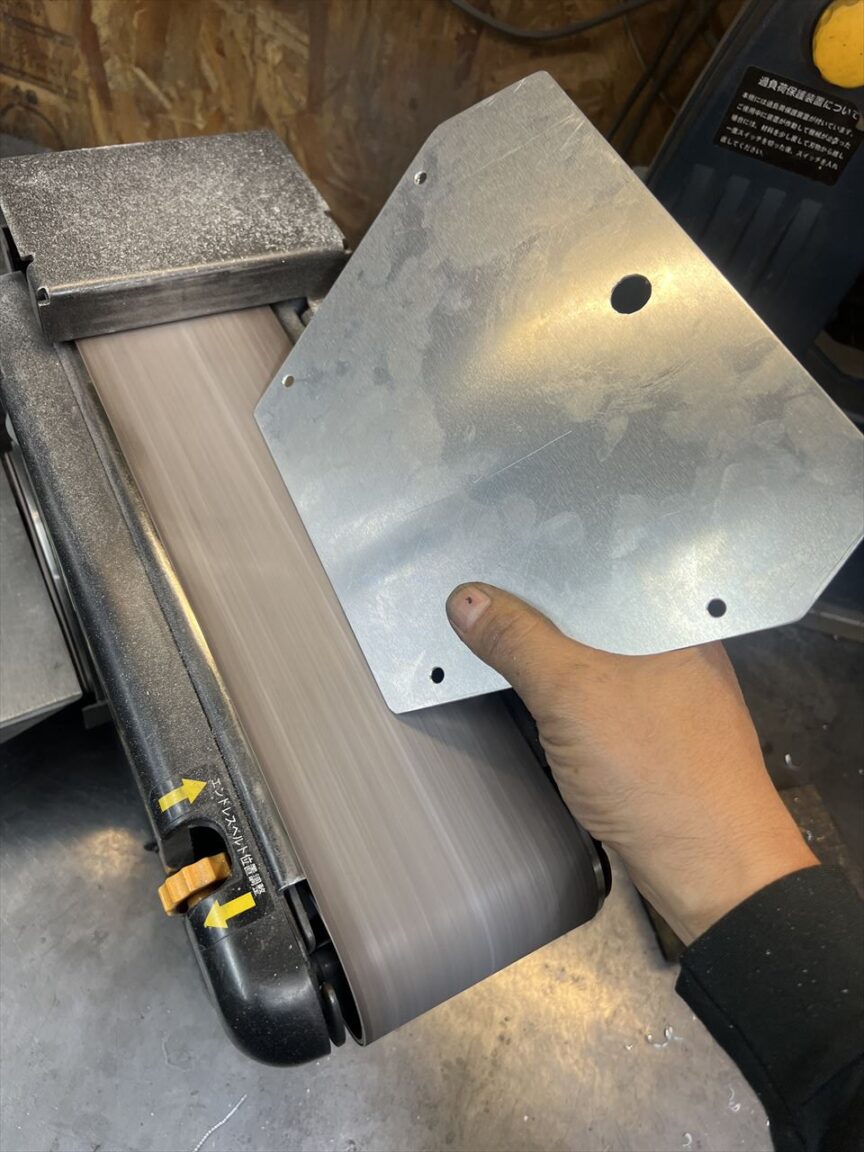
全周引っかかりのない滑らかな端面にします。
プレスで曲げます。
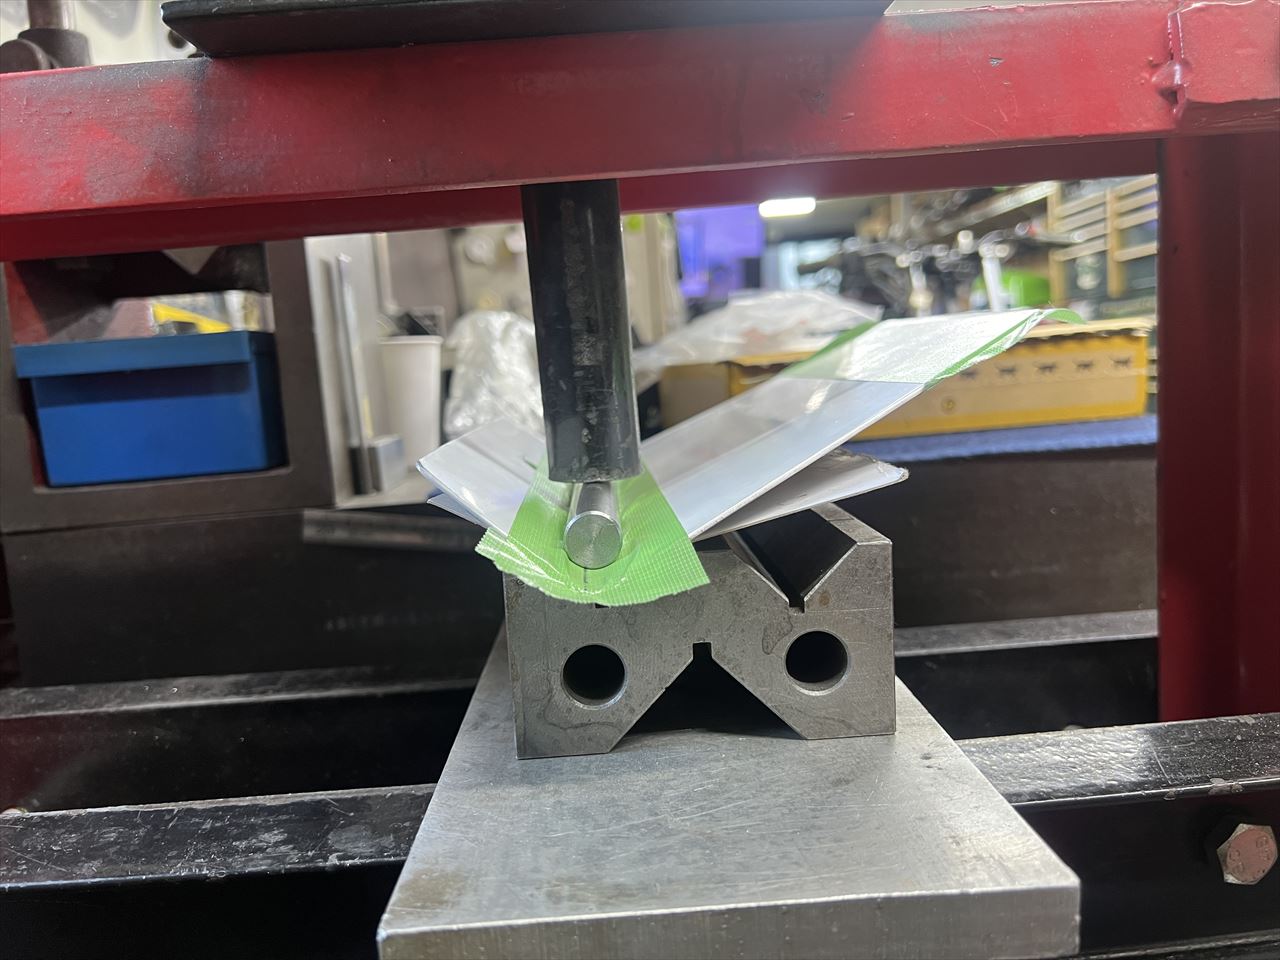
曲げ角度はMk2用の角度治具に合わせます。
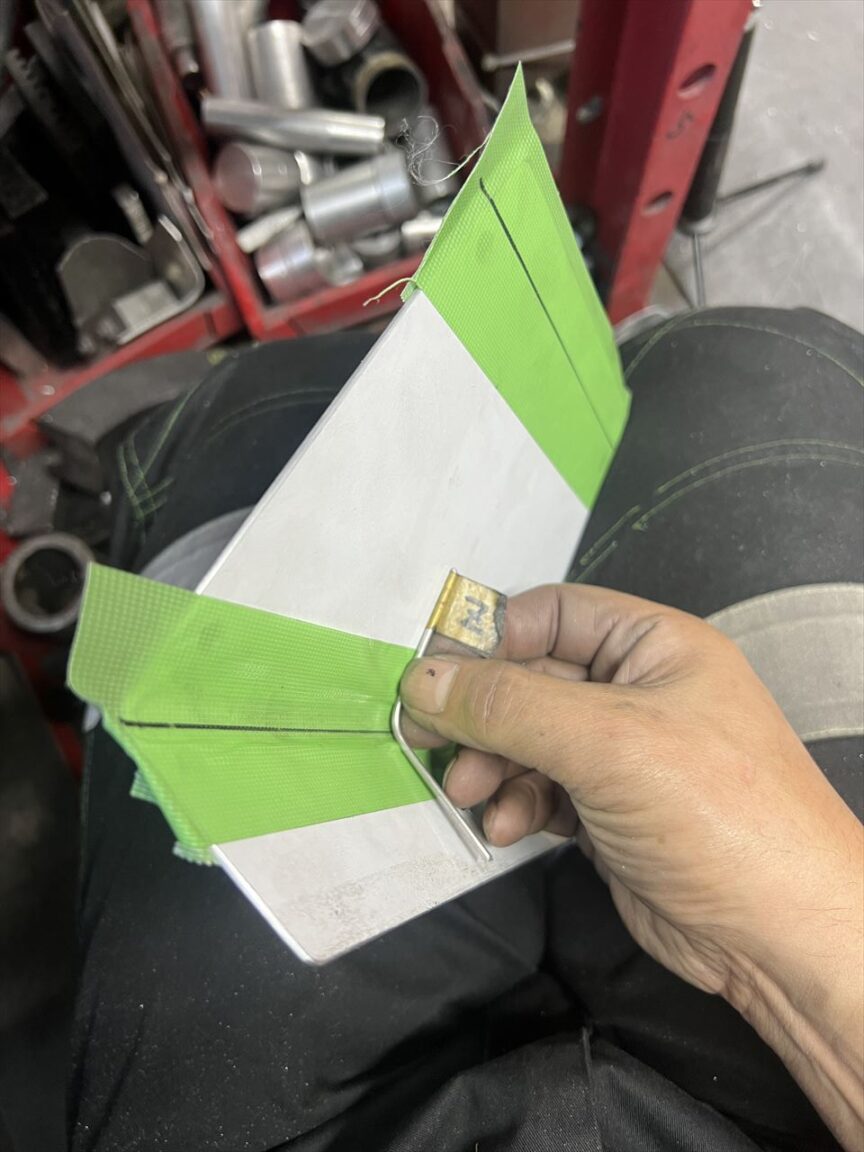
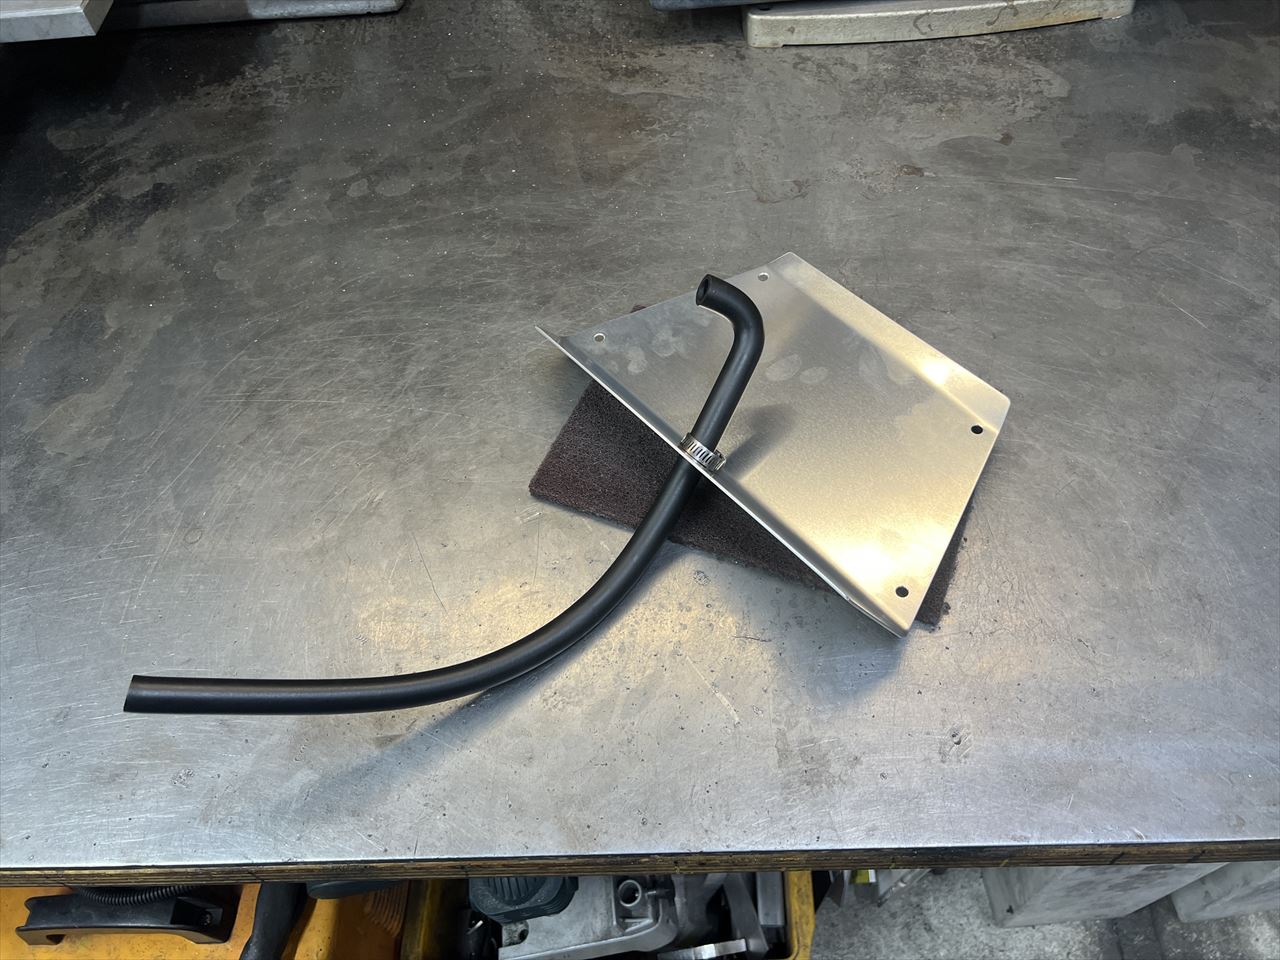
裏側にスポンジを貼って完成です。今回は90°曲がりホースも一緒にお買い上げです。ありがとうございました。

Z1000R Z1000Mk2 カスタム&メンテナンス
単体でご注文があったZ1000Mk2用のキャブ後方隔壁を製作します。
テンプレートの形に添って、シャーリングでカットします。
切り出し完了。
穴開けします。
角を丸めます。
エッジを面取り後、切断面に丸みを付け、配線などが触れても傷つきにくいように滑らかに研磨します。
全周引っかかりのない滑らかな端面にします。
プレスで曲げます。
曲げ角度はMk2用の角度治具に合わせます。
裏側にスポンジを貼って完成です。今回は90°曲がりホースも一緒にお買い上げです。ありがとうございました。